Match Table
The Match Table item type presents a prompt alongside a structured grid made of rows (stems) and columns (options). Students must select the single correct option for each row. This format is ideal for matching categories, attributes, or functions across related concepts. Match Table items are automatically scored.
Key Characteristics
- Students interact with a grid made up of stems (rows) and options (columns).
- Each cell represents a possible match between a row and column.
- By default, students select one answer per row, but the item can be configured to allow multiple selections per row, increasing the complexity.
- Authors define:
- A prompt
- A set of stems (rows)
- A set of options (columns)
- One or more correct responses per row
- Supports auto-scoring, including partial credit if configured.
When delivered, students see a table format where they must analyze each stem and determine the correct corresponding option(s), using checkboxes or radio buttons depending on the configuration
Instructional Connection
Match Table items are well suited for assessing categorization, function matching, term-definition pairs, or cause-effect relationships. Because each stem must be matched to the correct option, students are required to analyze multiple relationships in a compact, visual format. This item type supports higher-order thinking.
Authoring a Match Table Question
From the item editor:
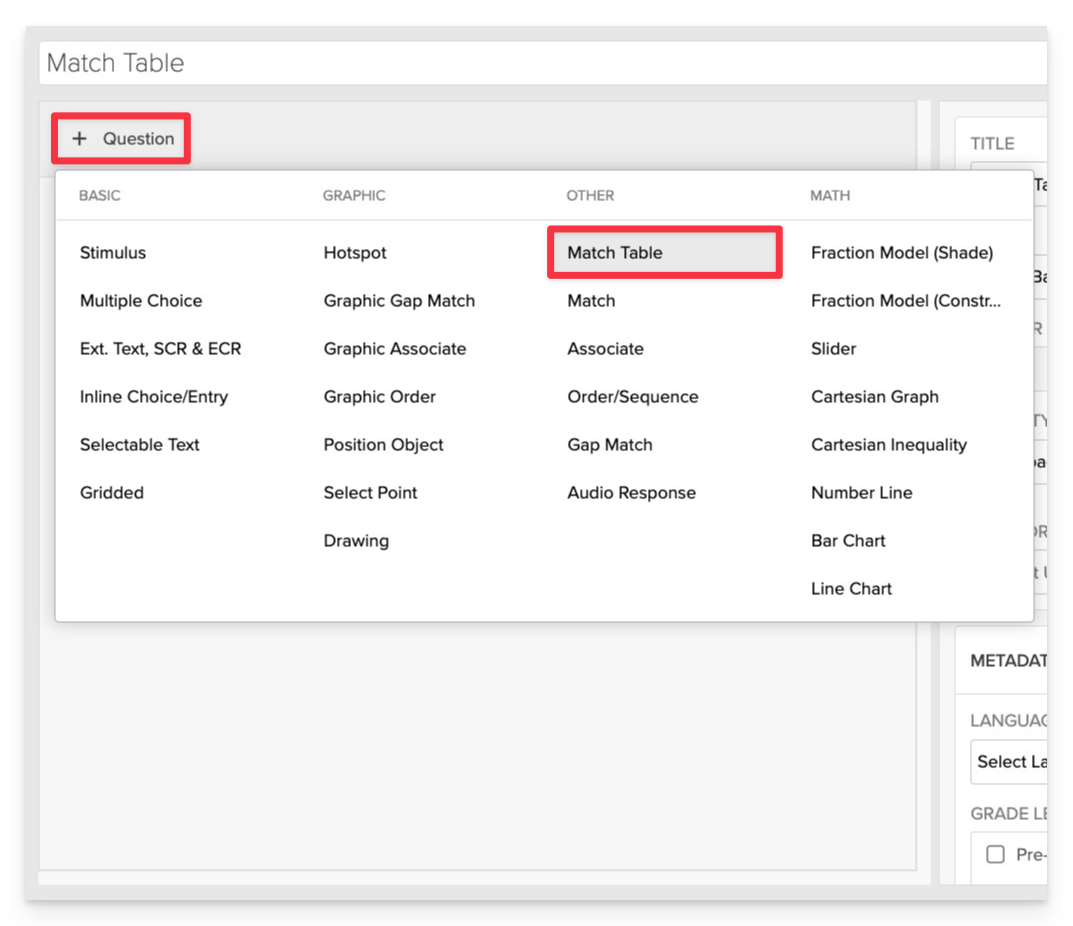
- Click on +Question.
- From the list of question types, select Match Table.
Enter the Prompt
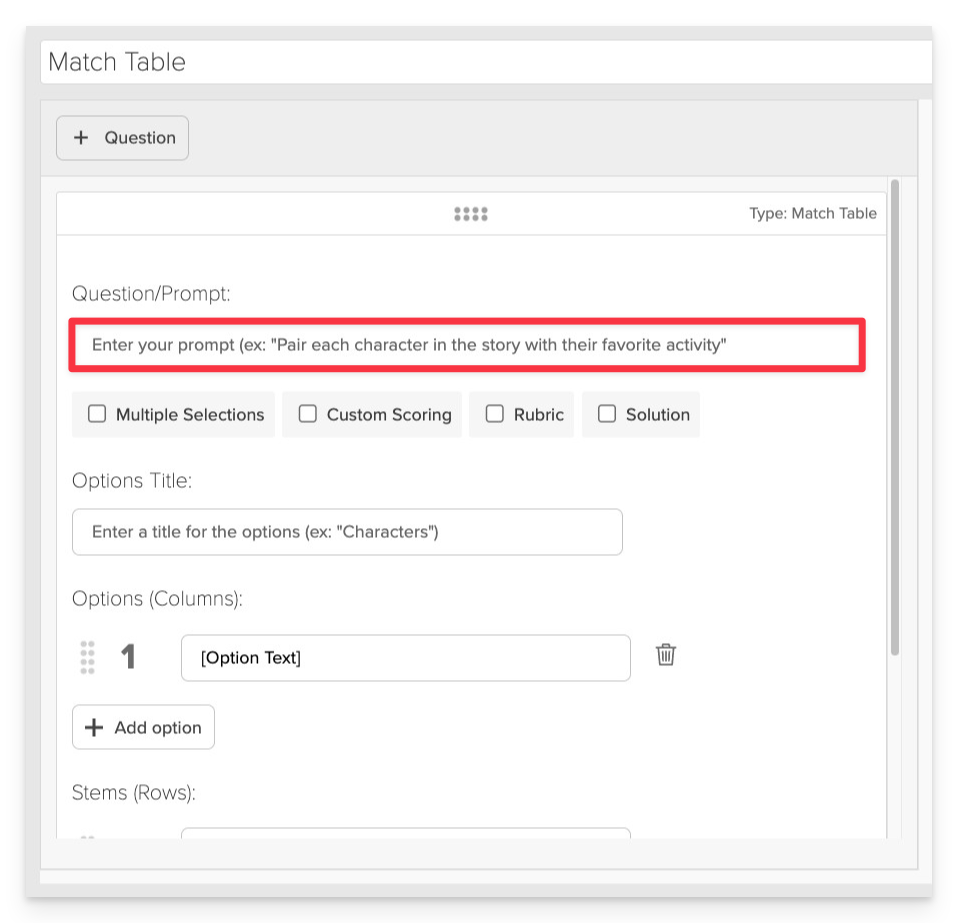
In the Prompt field, provide clear instructions for the student.
Add Column Options
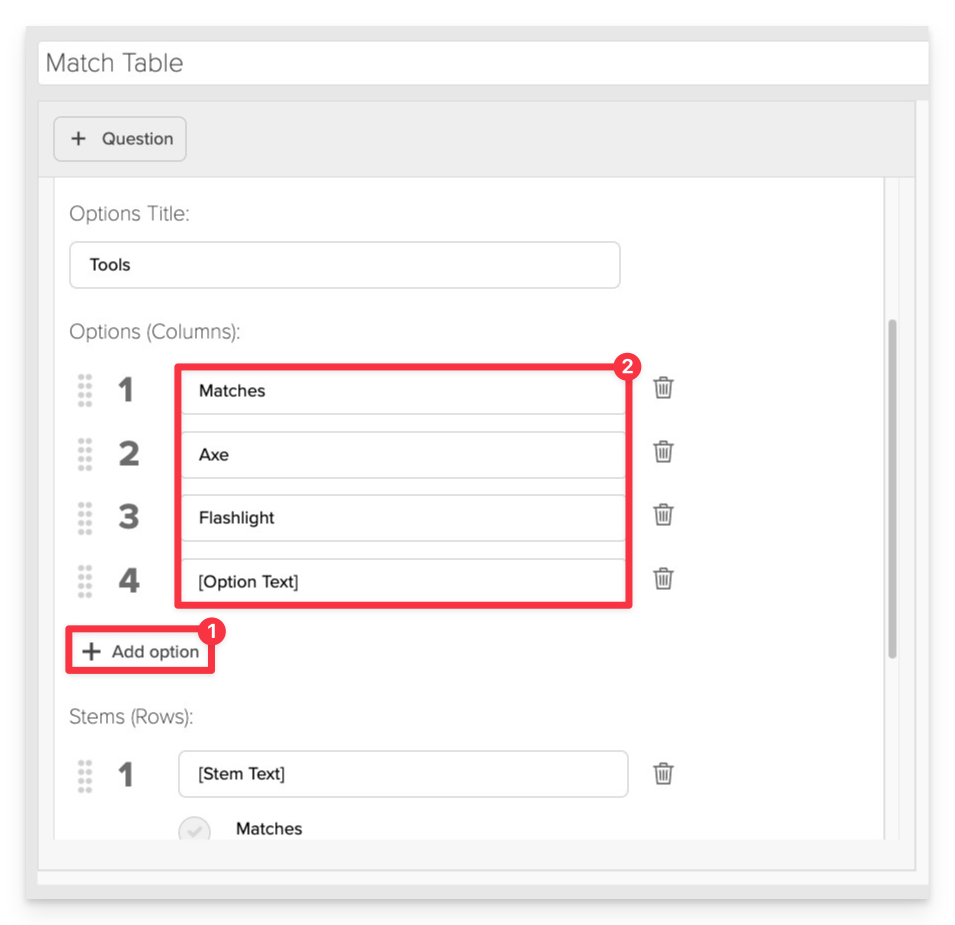
Add Options (Columns):
- Click +Add option to enter each option.
- Type the text or add an image for each option.
Add and Configure Row Options
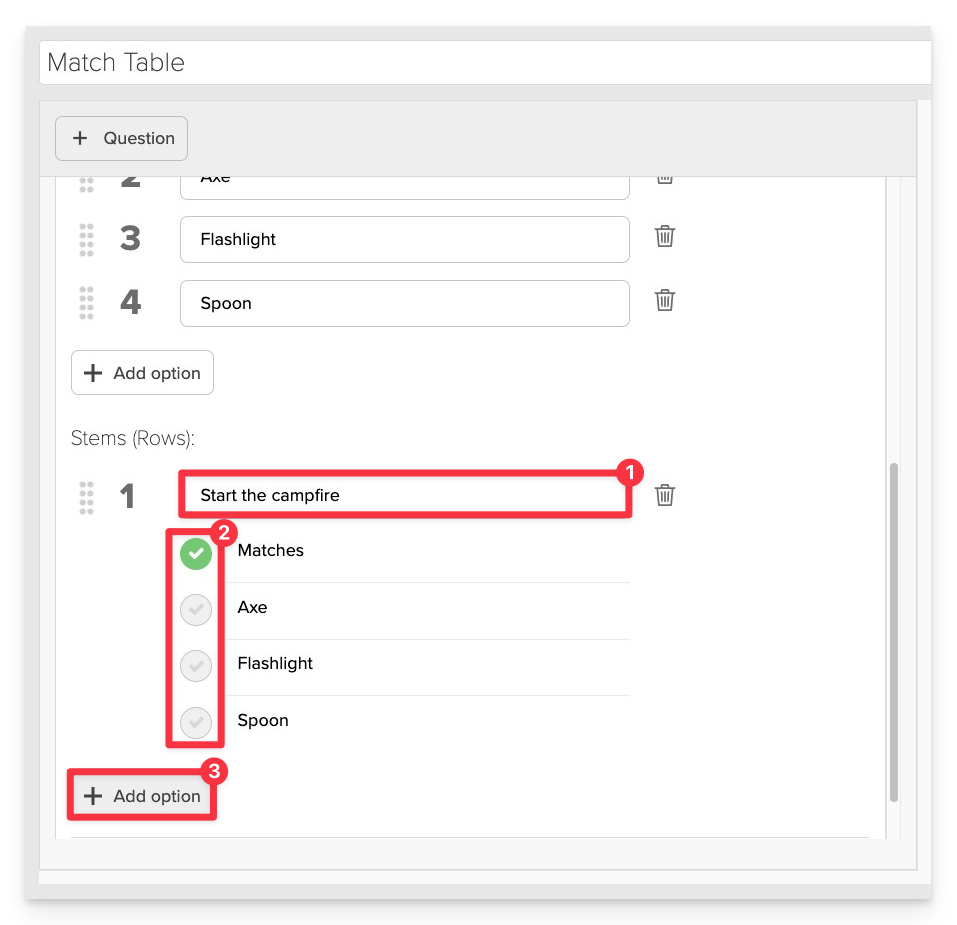
Add Stems (Rows):
- Type the text or add an image for each row.
- Click the green checkmark next to the correct answers to mark them as correct.
- Click +Add Option to enter each new stem (row).
Always Preview your item. In the preview, click Reveal Key to confirm that all content—such as correct answers, placement, or visual elements—appears exactly as intended. This is the quickest and most reliable way to check your setup before saving.
Save the Item
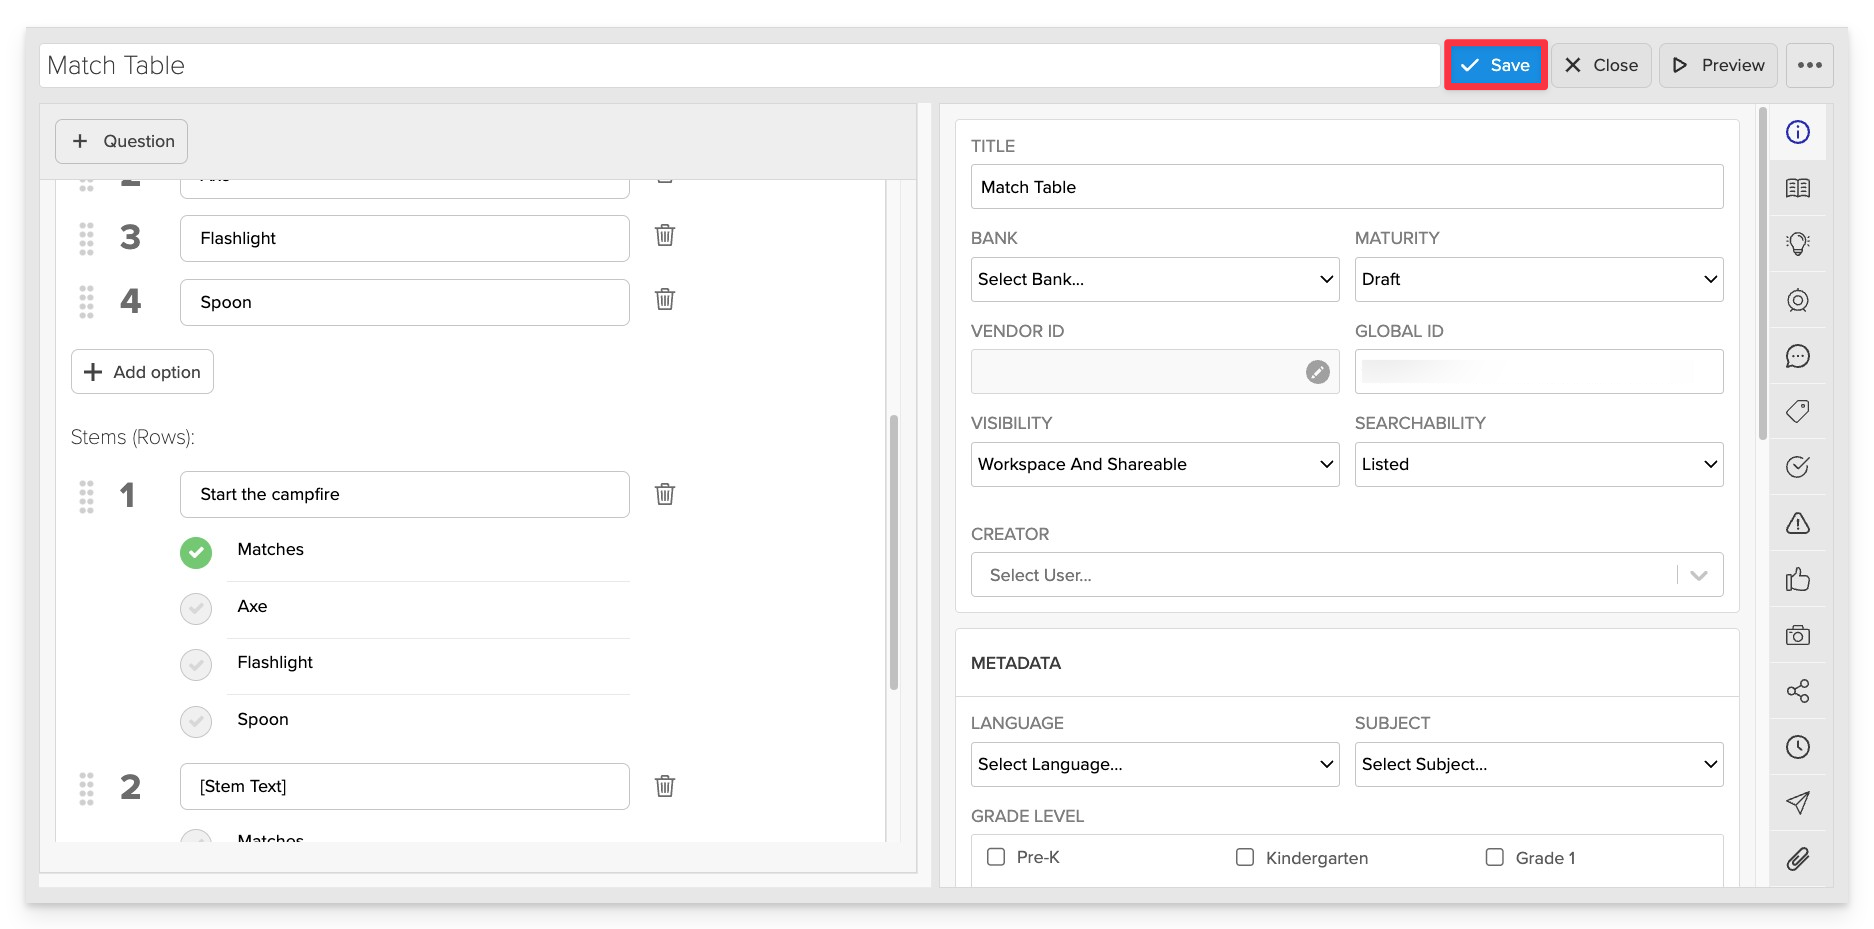
Click Save to store your item in Studio.