Graphic Order
The Graphic Order item type presents students with a single image that includes interactive hotspots. Students must click on these hotspots in the correct sequence to demonstrate understanding of a process, route, or ordered relationship. This format blends visual interpretation with procedural thinking, making it ideal for timeline-based or spatial sequencing tasks.
Key Characteristics
- A single background image is used as the visual context (e.g., map, diagram, process flow).
- Authors place clickable hotspots on relevant areas of the image.
- Hotspots can be circular or rectangular.
- Students respond by clicking on the hotspots in order.
- The correct sequence is defined by the author.
- Not all hotspots need to be included in the correct sequence—some can be used as distractors.
Instructional Connection
Graphic Order items help students demonstrate their understanding of sequences or progressions within a visual context. This format is ideal for tasks like mapping routes, ordering steps in a process, or arranging events chronologically. It encourages students to interpret visuals and apply logical reasoning to complete procedural or timeline-based tasks.
Authoring a Graphic Order Question
From the item editor:
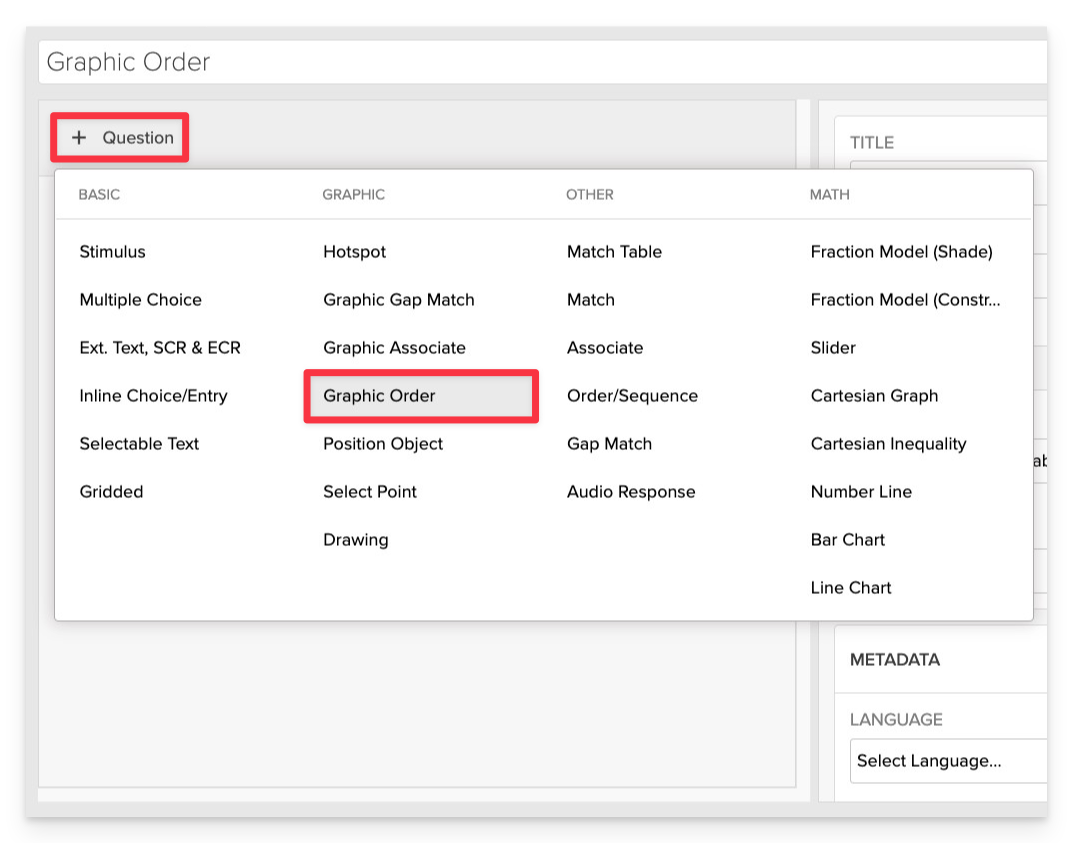
- Click on +Question.
- From the list of question types, select Graphic Order.
Enter the Prompt
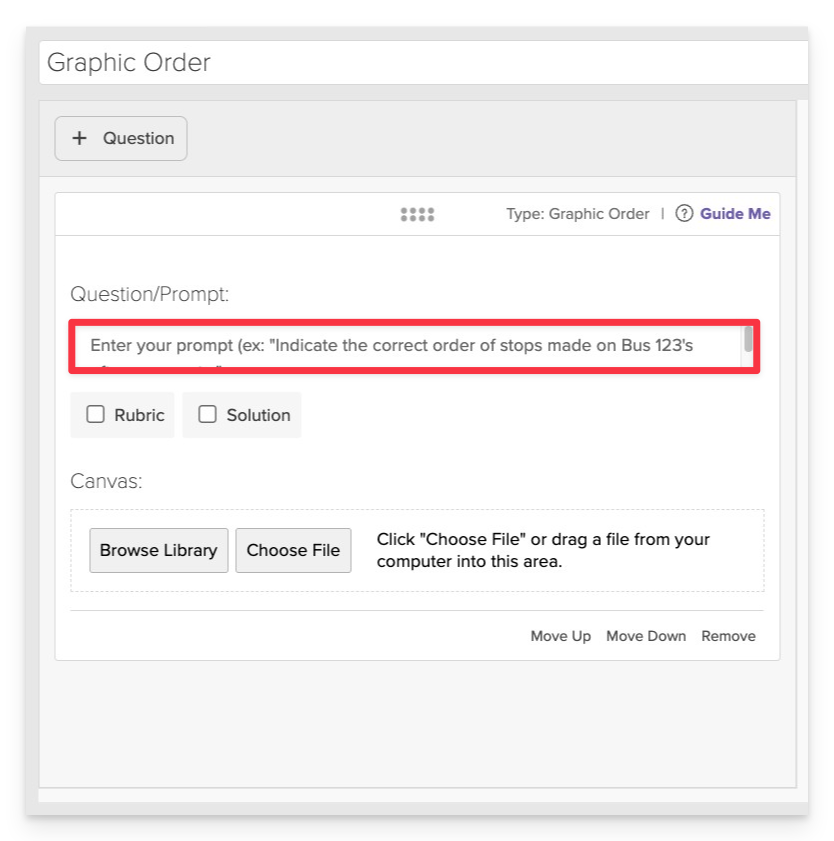
- In the Prompt field, provide clear instructions for the student.
- Example: “According to the passage, click on the objects in the order the campers used them during the morning routine.”
Upload the Background Image
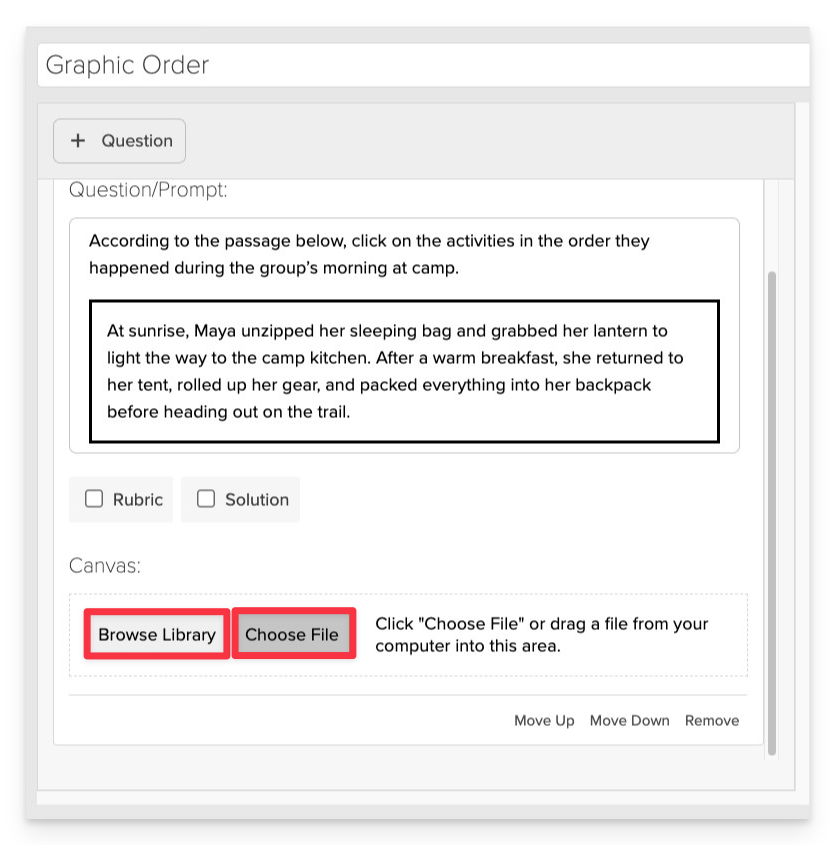
- Click on Choose file or Browse Library to add the visual that students will interact with.
Add and Configure Hotspots
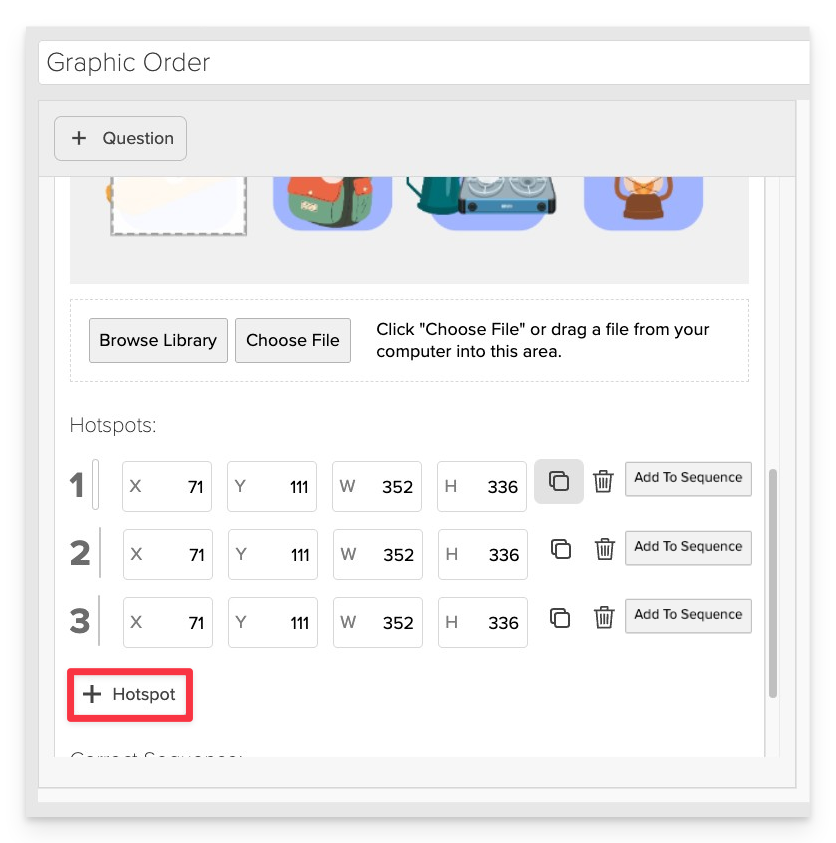
- After uploading the image, an initial hotspot will appear.
- To add more hotspots:
- Click the +Hotspot.
- Position and resize the hotspot over the relevant area of the image.
You can resize hotspots by dragging their corner handles or by entering specific Width (W) and Height (H) values in the properties panel. For precise placement, use the X and Y coordinates to align each hotspot exactly where needed.
Assign the Correct Selection Order
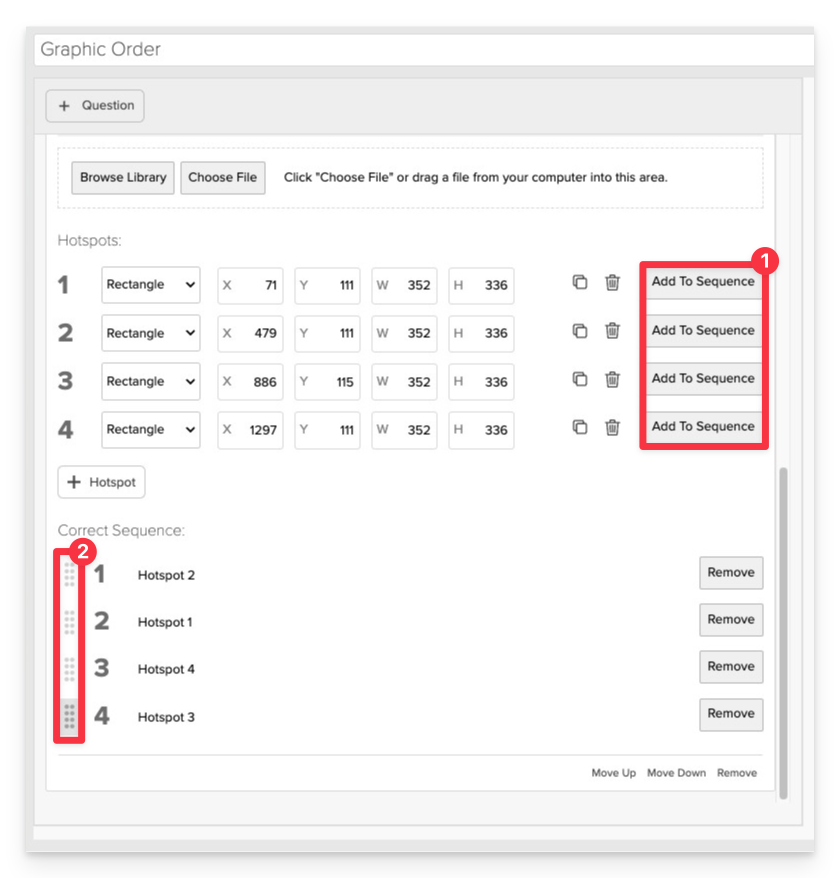
After placing all necessary hotspots, define the correct sequence:
- Click on Add To Sequence in the order that represents the correct sequence.
- Should you need to make adjustments to the sequence, use the Drag Handles to reorder.
Always Preview your item. In the preview, click Reveal Key to confirm that all content—such as correct answers, placement, or visual elements—appears exactly as intended. This is the quickest and most reliable way to check your setup before saving.
Save the Item
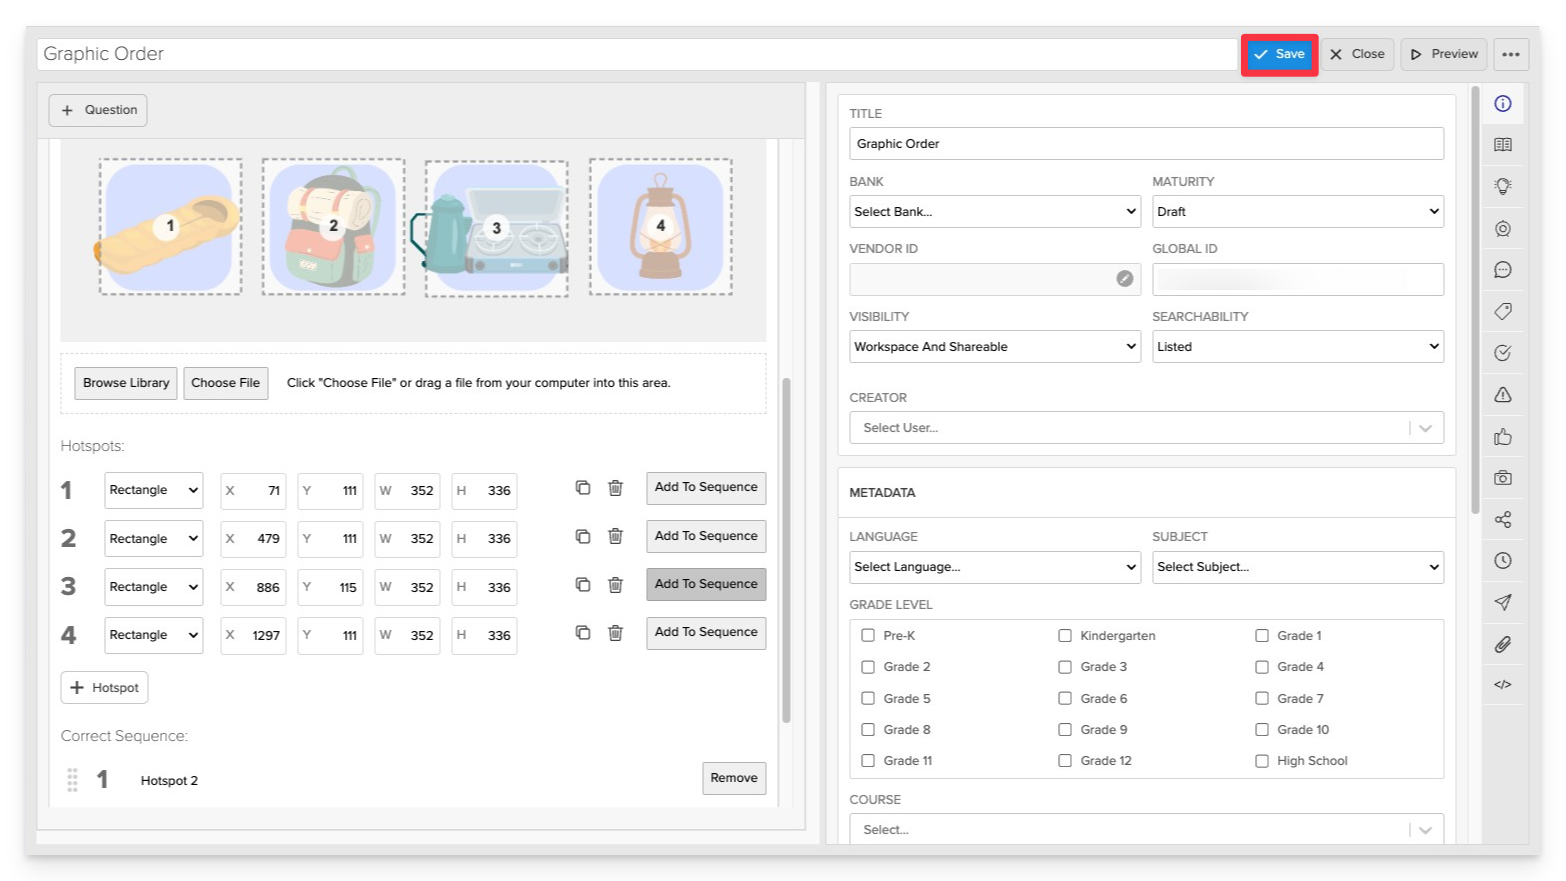
Click Save to store your item in Studio.