Manage the Roster
What is a Roster?
In Campfire, a roster is the list of students enrolled in a specific classroom. It enables you to assign assessments, track student performance, and view individual progress over time. The roster is also where each student’s access code is listed—this code is required for students to log in and access their assignments.
If your classroom is connected through an LMS (such as Google Classroom, Canvas, or Schoology), your LMS roster will be imported or used automatically. In that case, you do not need to create a roster manually.
Create Your Classroom Roster
Enter Your Classroom
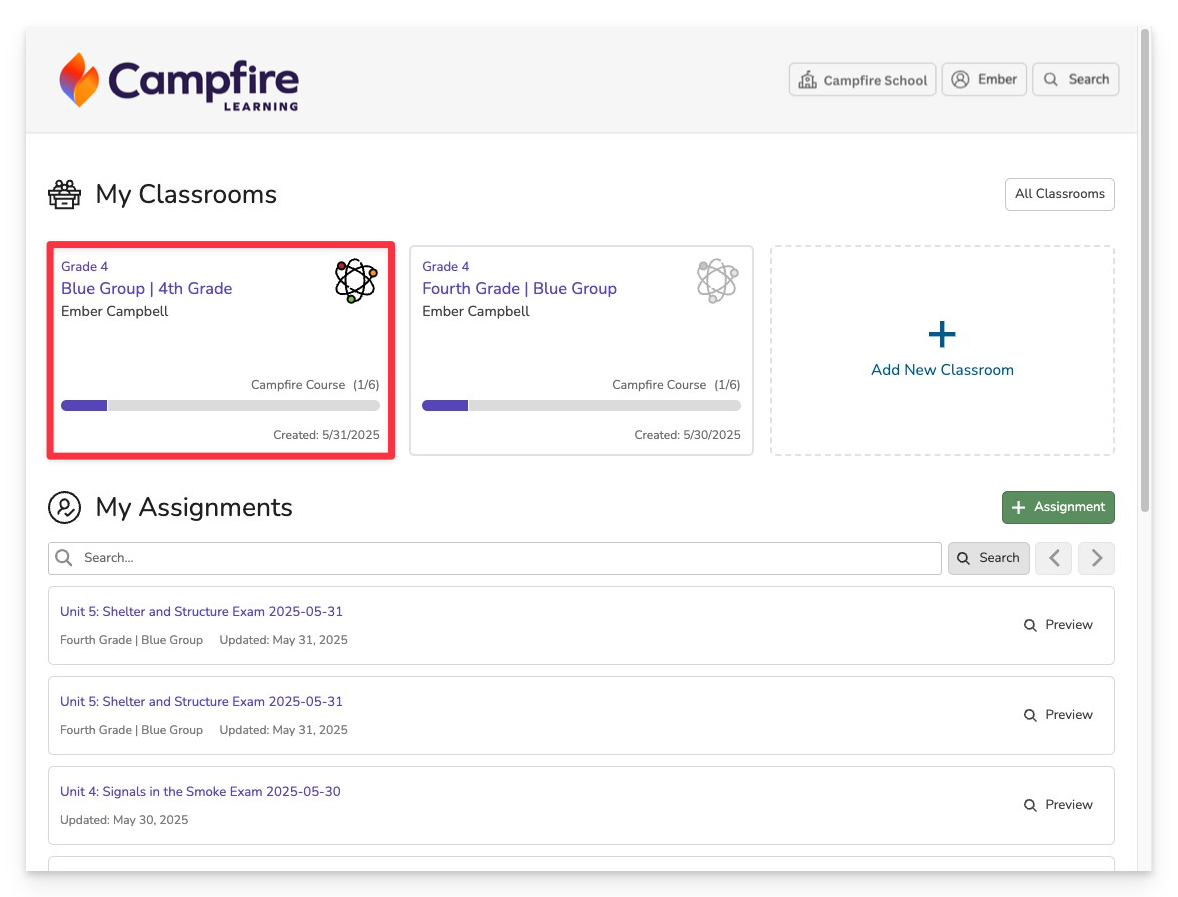
From your Home Dashboard, locate the list of your classrooms. Click on the name of the classroom you want to open. This will take you to the classroom workspace, where you can manage students, assignments, and performance data.
Access the Roster Page
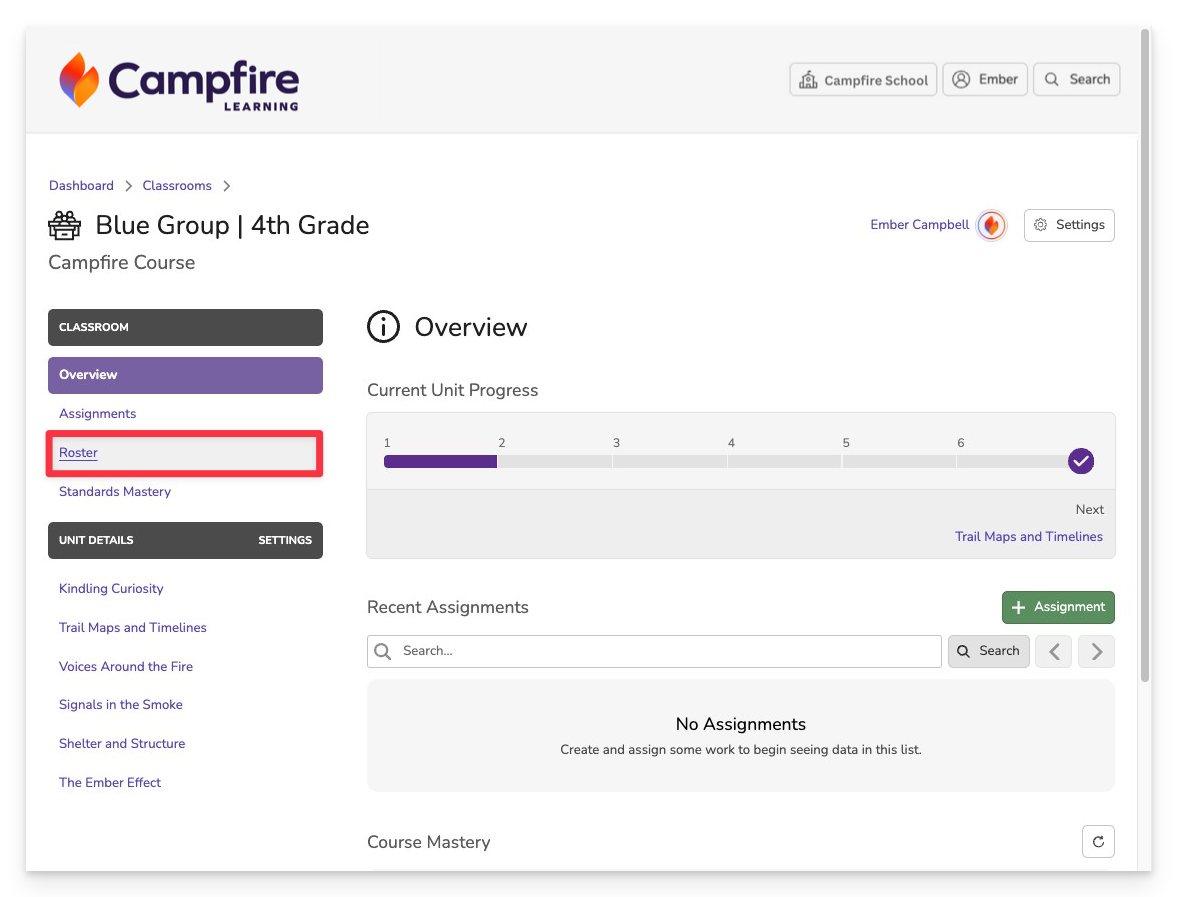
From the sidebar menu, click Roster to access and manage your classroom’s student list.
Add Students
You can roster students in two ways: manually (one-by-one) or by uploading a CSV.
- Manual
- Upload CSV
Press +Student
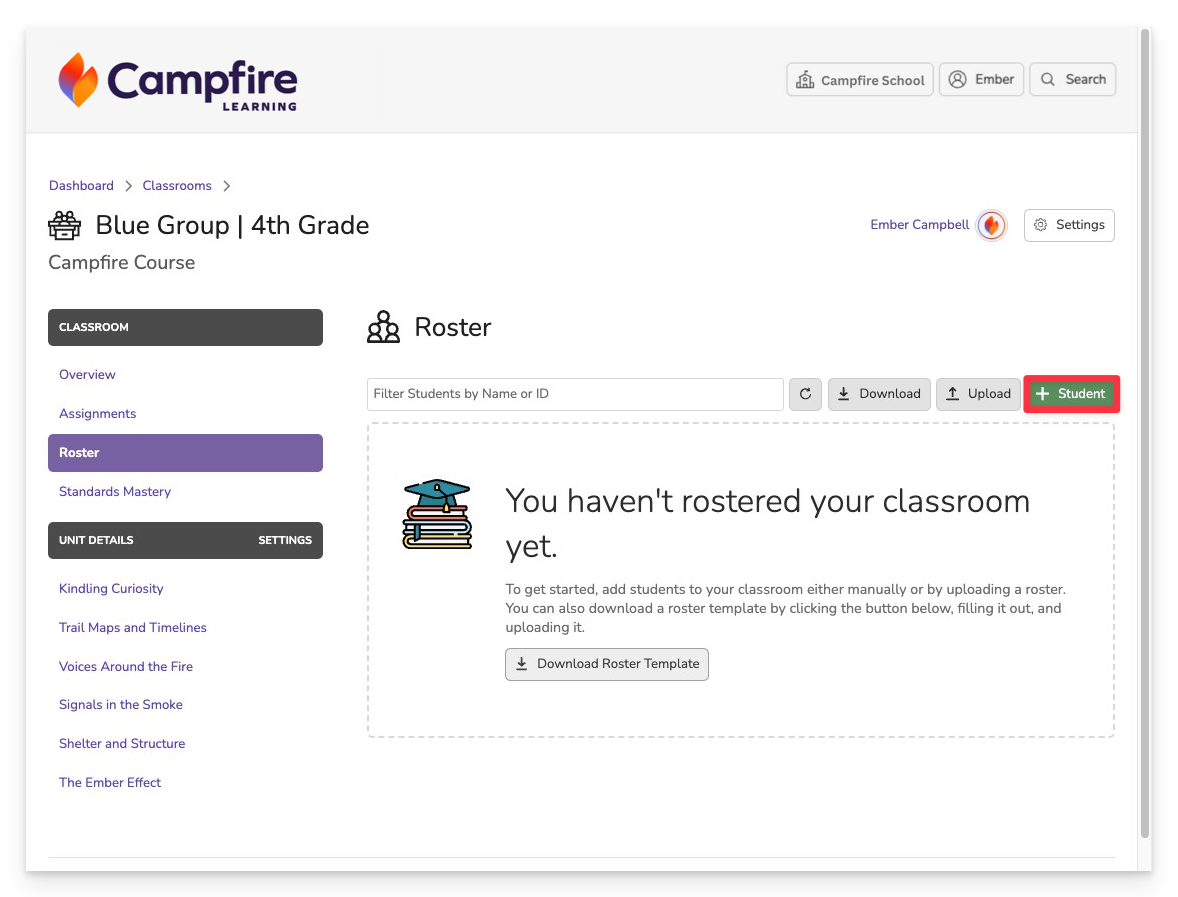
To upload students manually, click on +Student.
Enter Student Information
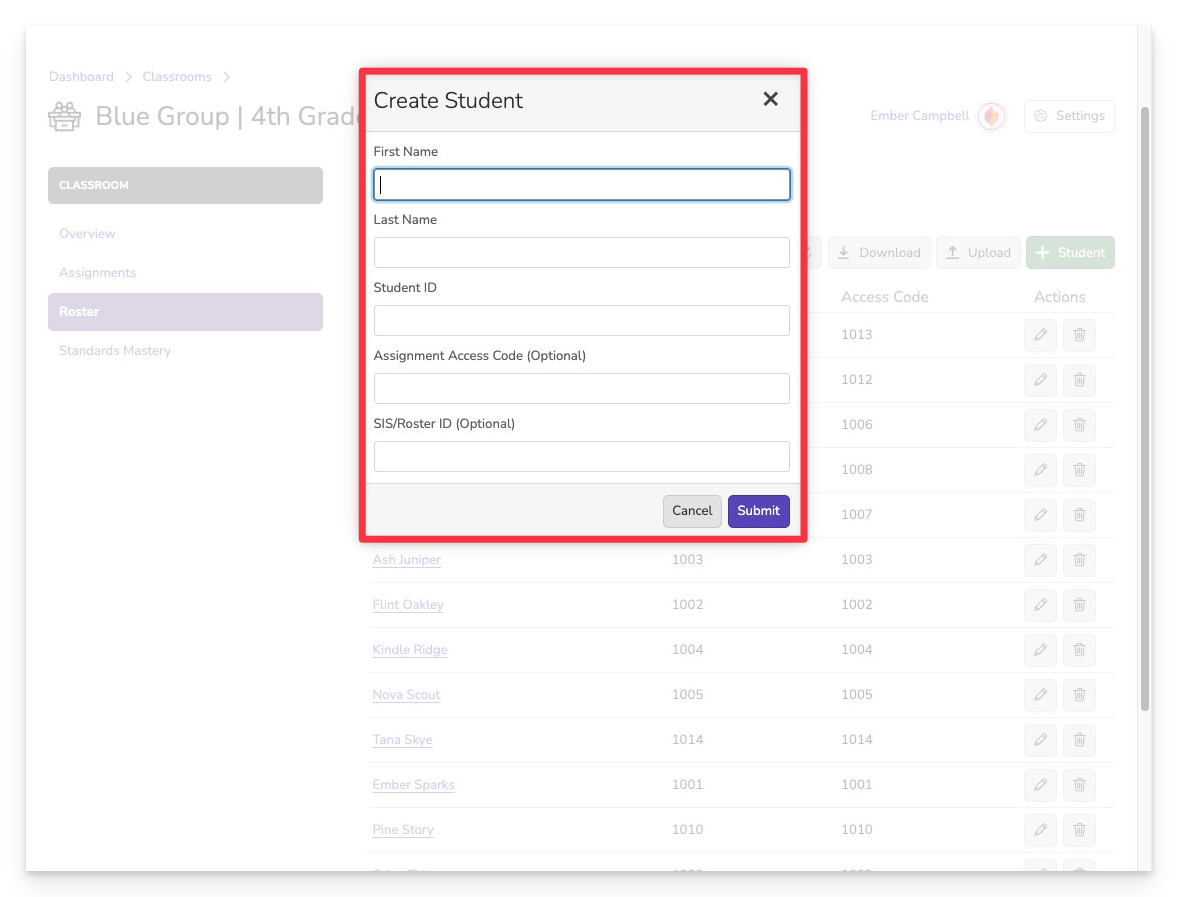
Complete the following fields:
- First Name
- Last Name
- Student ID – This is required. If you do not enter an alternate access code, the Student ID will automatically be used as the student’s access code.
- Assignment Access Code (optional) – Enter a custom access code if you prefer not to use the Student ID.
- SIS/Roster ID (optional) – Add this if your school uses a student information system for additional tracking.
Click Submit to include the student in the classroom roster.
Repeat for each student you wish to add manually.
Upload Using a CSV
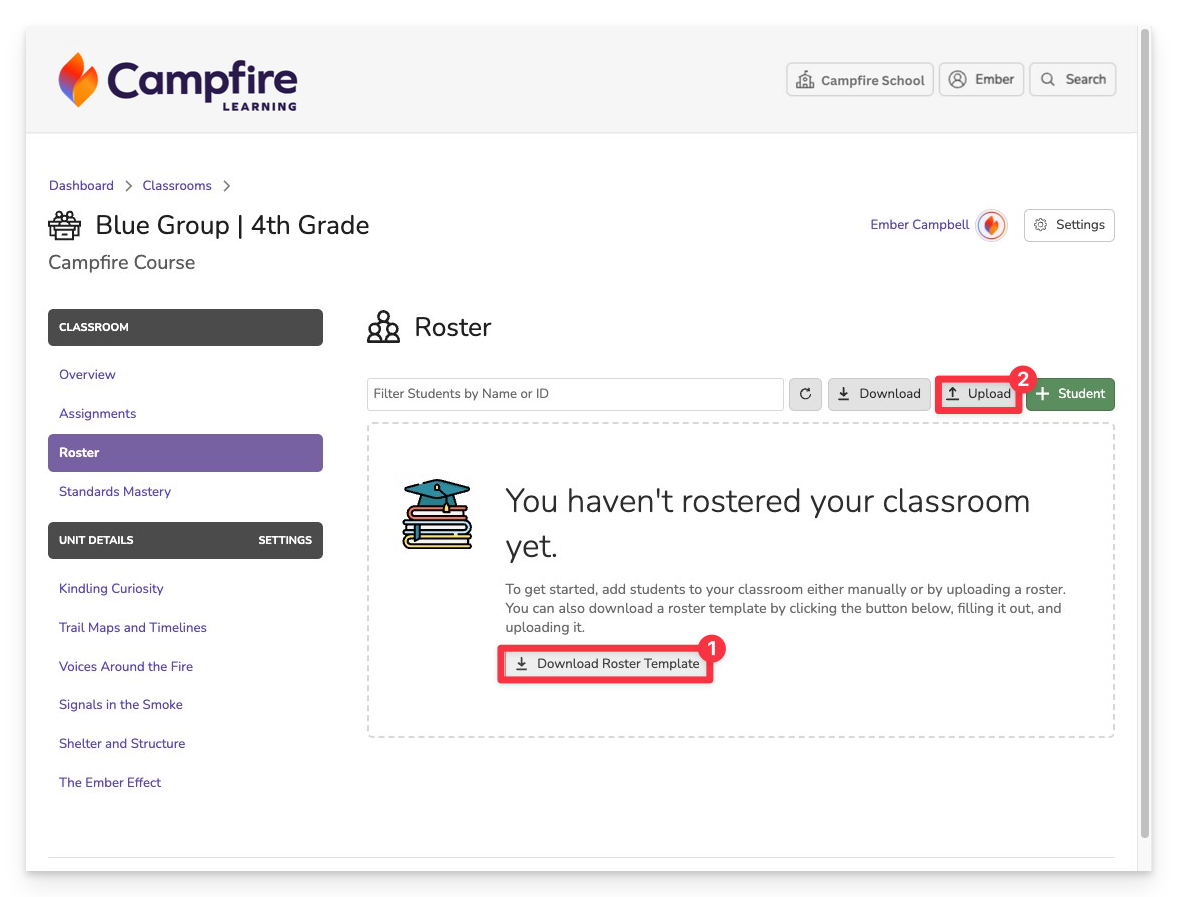
- Download the Roster Template provided in the modal.
- Fill out the template with your student data (ensuring proper formatting).
- Save your file and return to the upload screen.
- Click Upload, select your completed CSV, and upload.
Use the template exactly as provided—matching column headers ensures the system recognizes and imports your data correctly.
Managing Individual Students
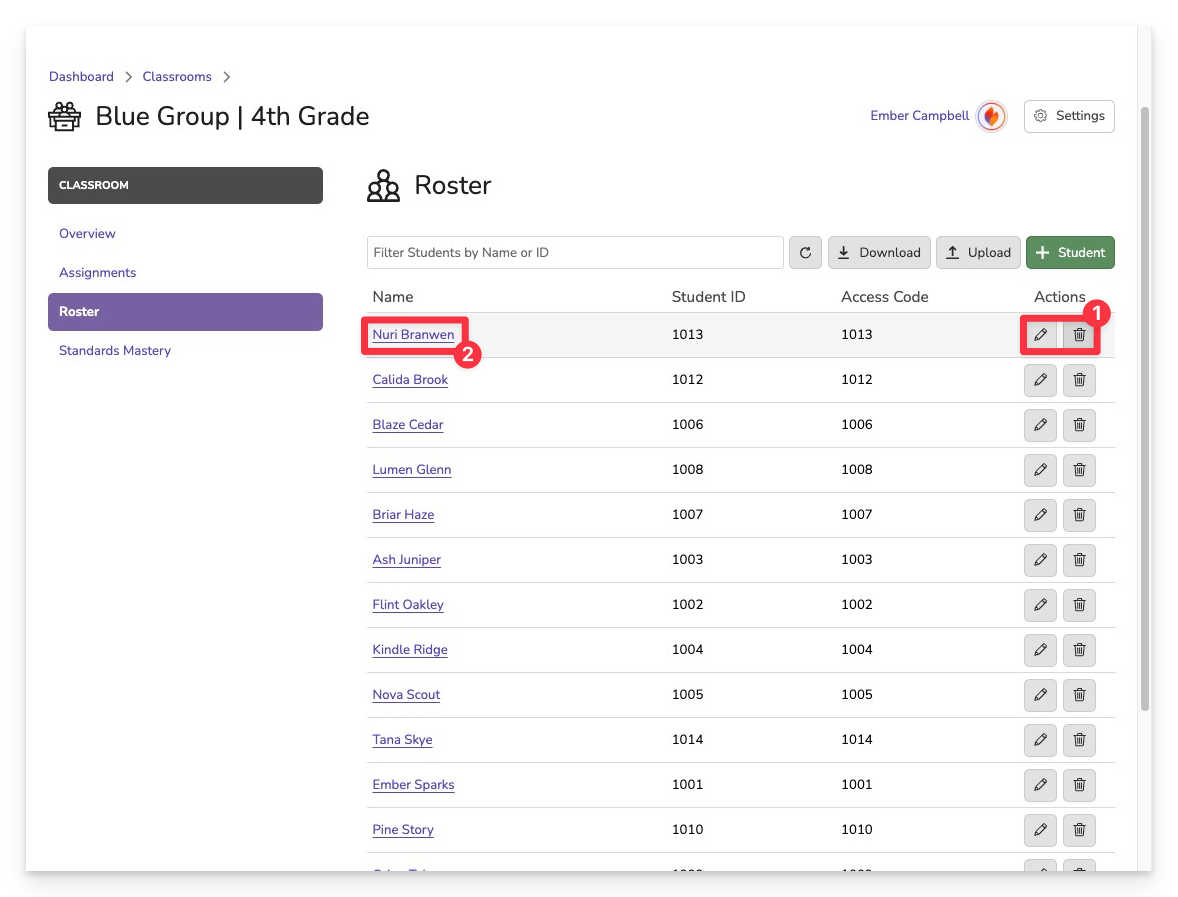
Edit or Remove a Student [1] using the pencil icon to edit a student’s information or the trash icon to remove a student from the classroom. Don’t worry—you can undo this action if needed!
View Student Details [2] by clicking on a student’s name to open their profile page. This page displays all data associated with the student, including a full list of current and completed activities.